


How to Create Your Menu
Last updated Jun 3, 2025
Set up your menu for the Kayana Self-Service Kiosk & EPOS. Learn how to add menu items, categories, images, pricing, options, and extras.
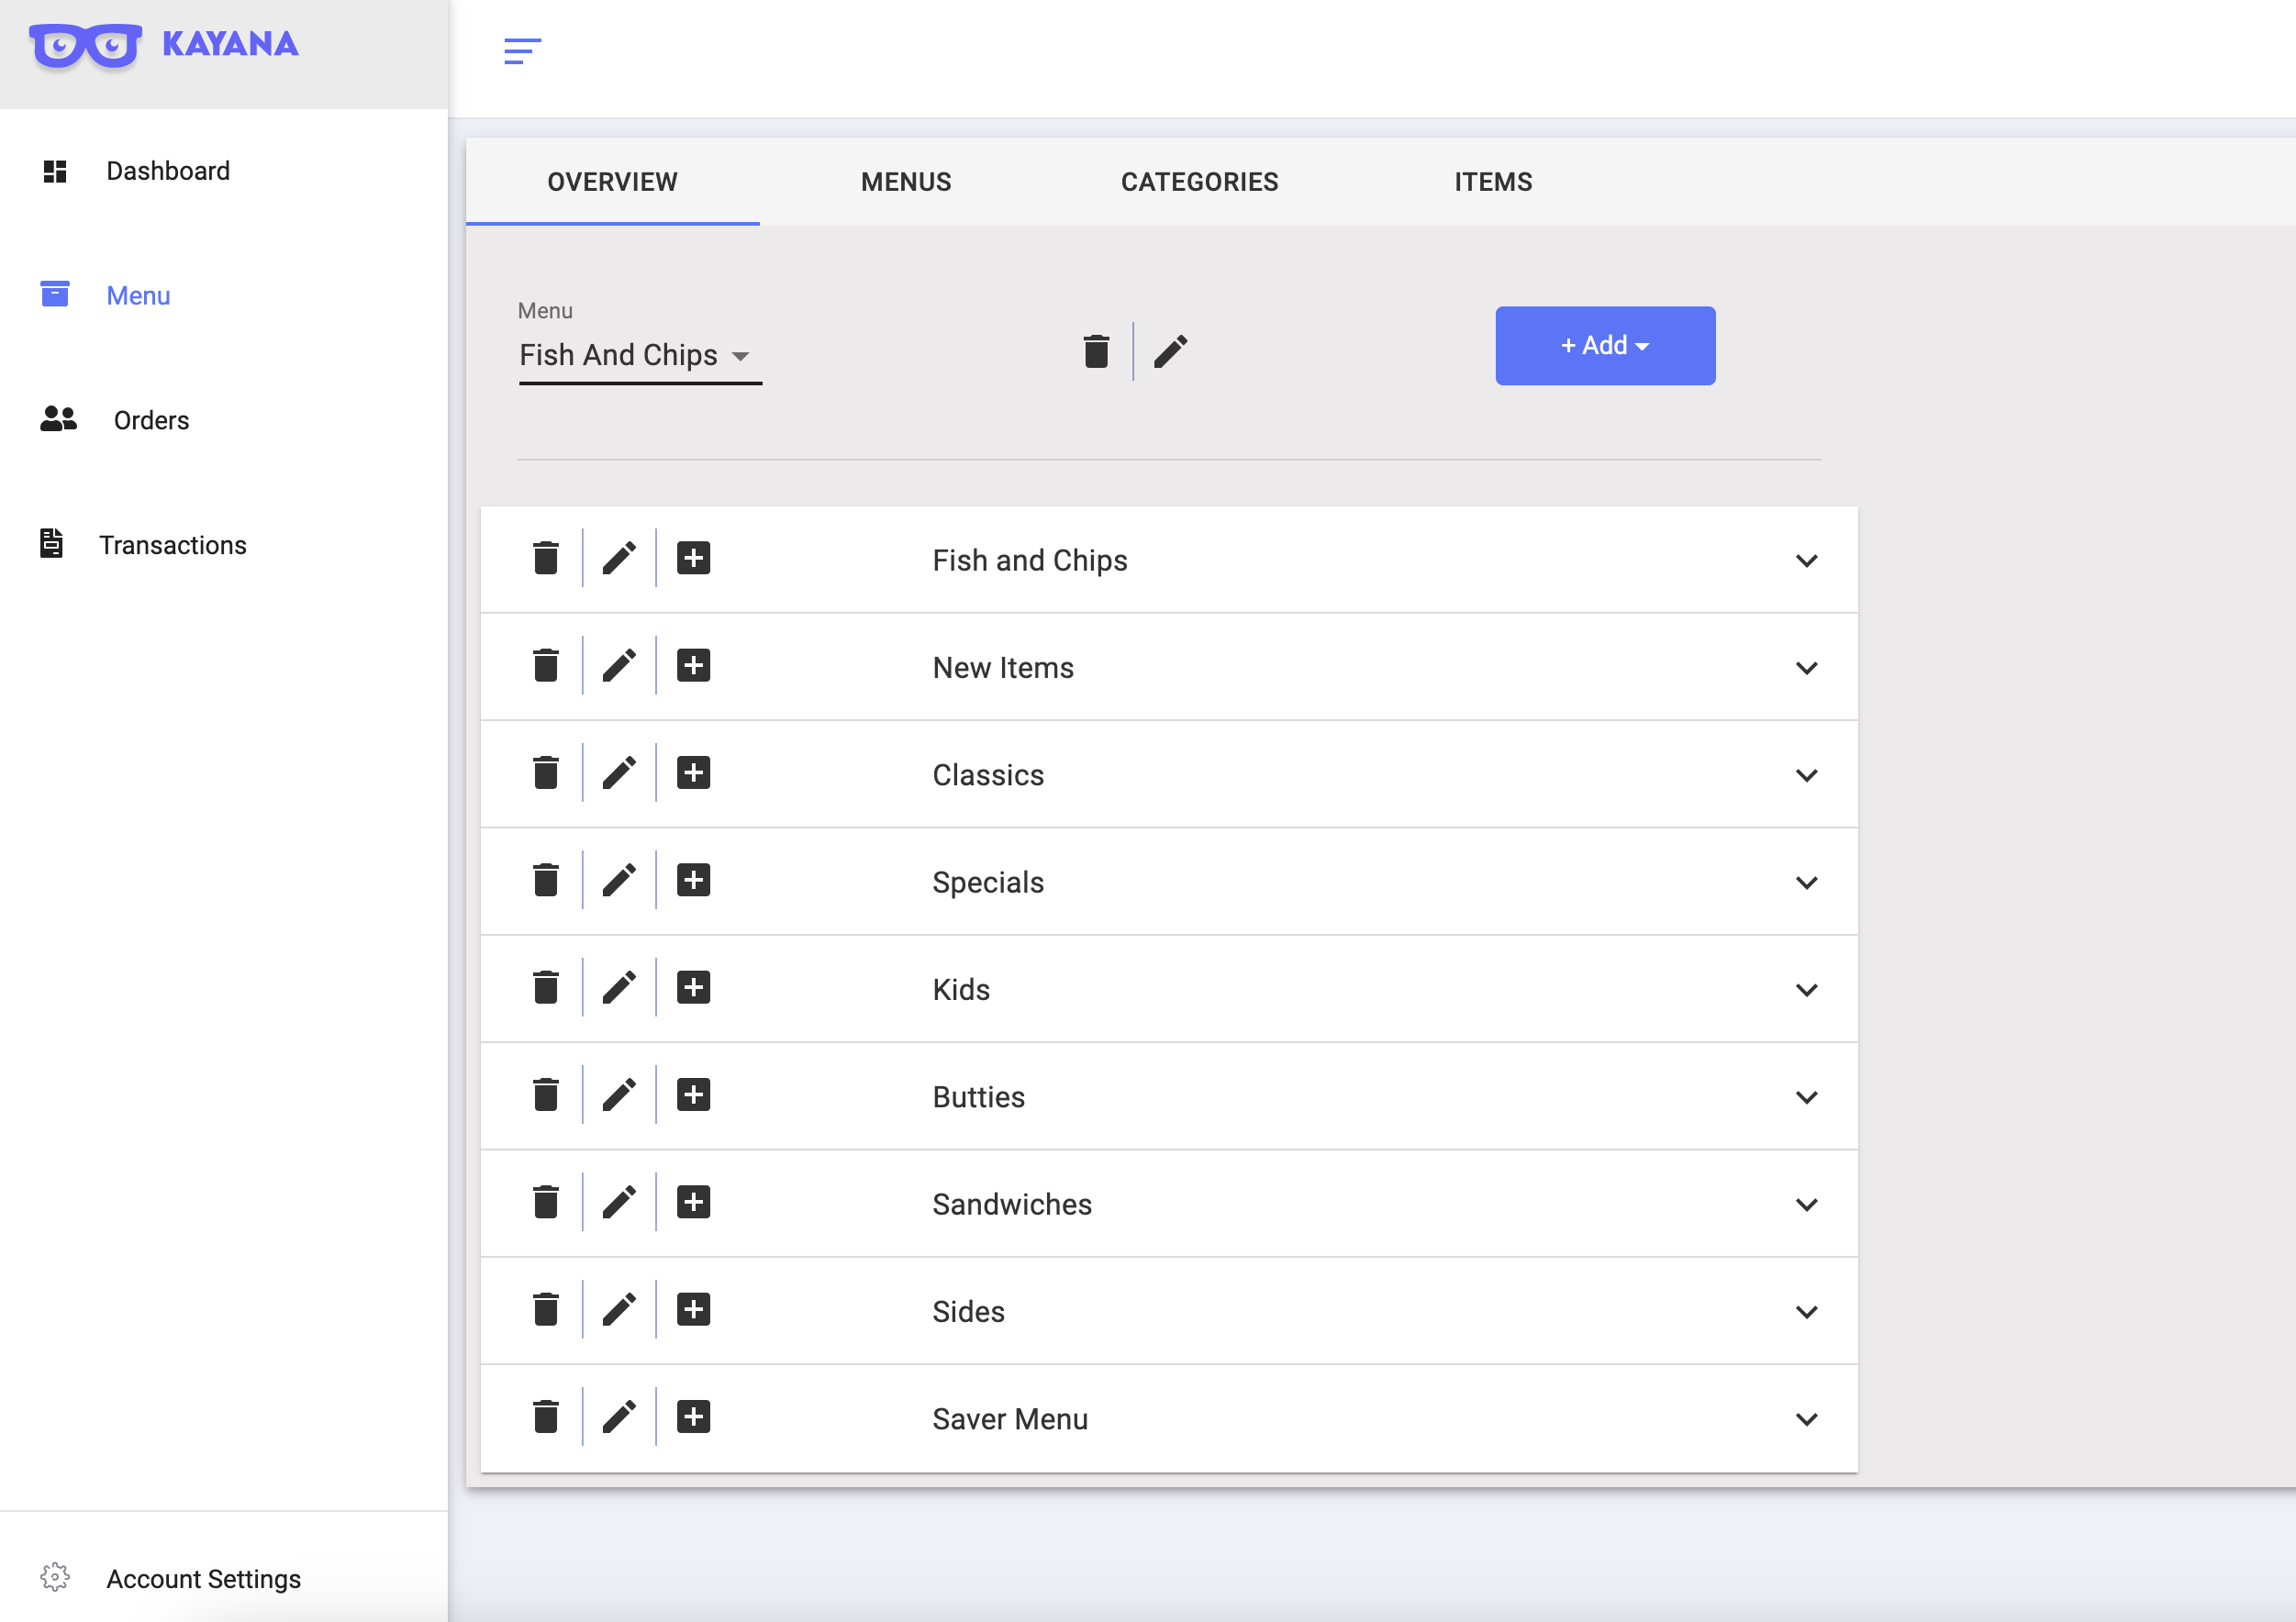
1. Access the Menus Section
- Log in to the Kayana Partners Portal.
- Click the Menu tab from the left-hand menu.
- The Menus screen will appear where you can click on items to edit them directly.
2. Kayana’s Three-Tier Menu Structure
Kayana uses a structured system for organizing menus:
- Menu – Main sections like Burgers or Drinks.
- Category – Sub-sections like Beef, Chicken, or Vegetarian.
- Item – The actual products like Spicy Zinger Burger, Cheeseburger.
3. Options vs. Extras
- Options: Customer selections that are included in the price (e.g., Choose a drink or Type of fries).
- Extras: Add-ons with optional charges (e.g., Upgrade to large, Add milkshake).
📸 Tip: Always use good-quality item images—visuals greatly impact the customer experience.
4. Set Up Your Menu
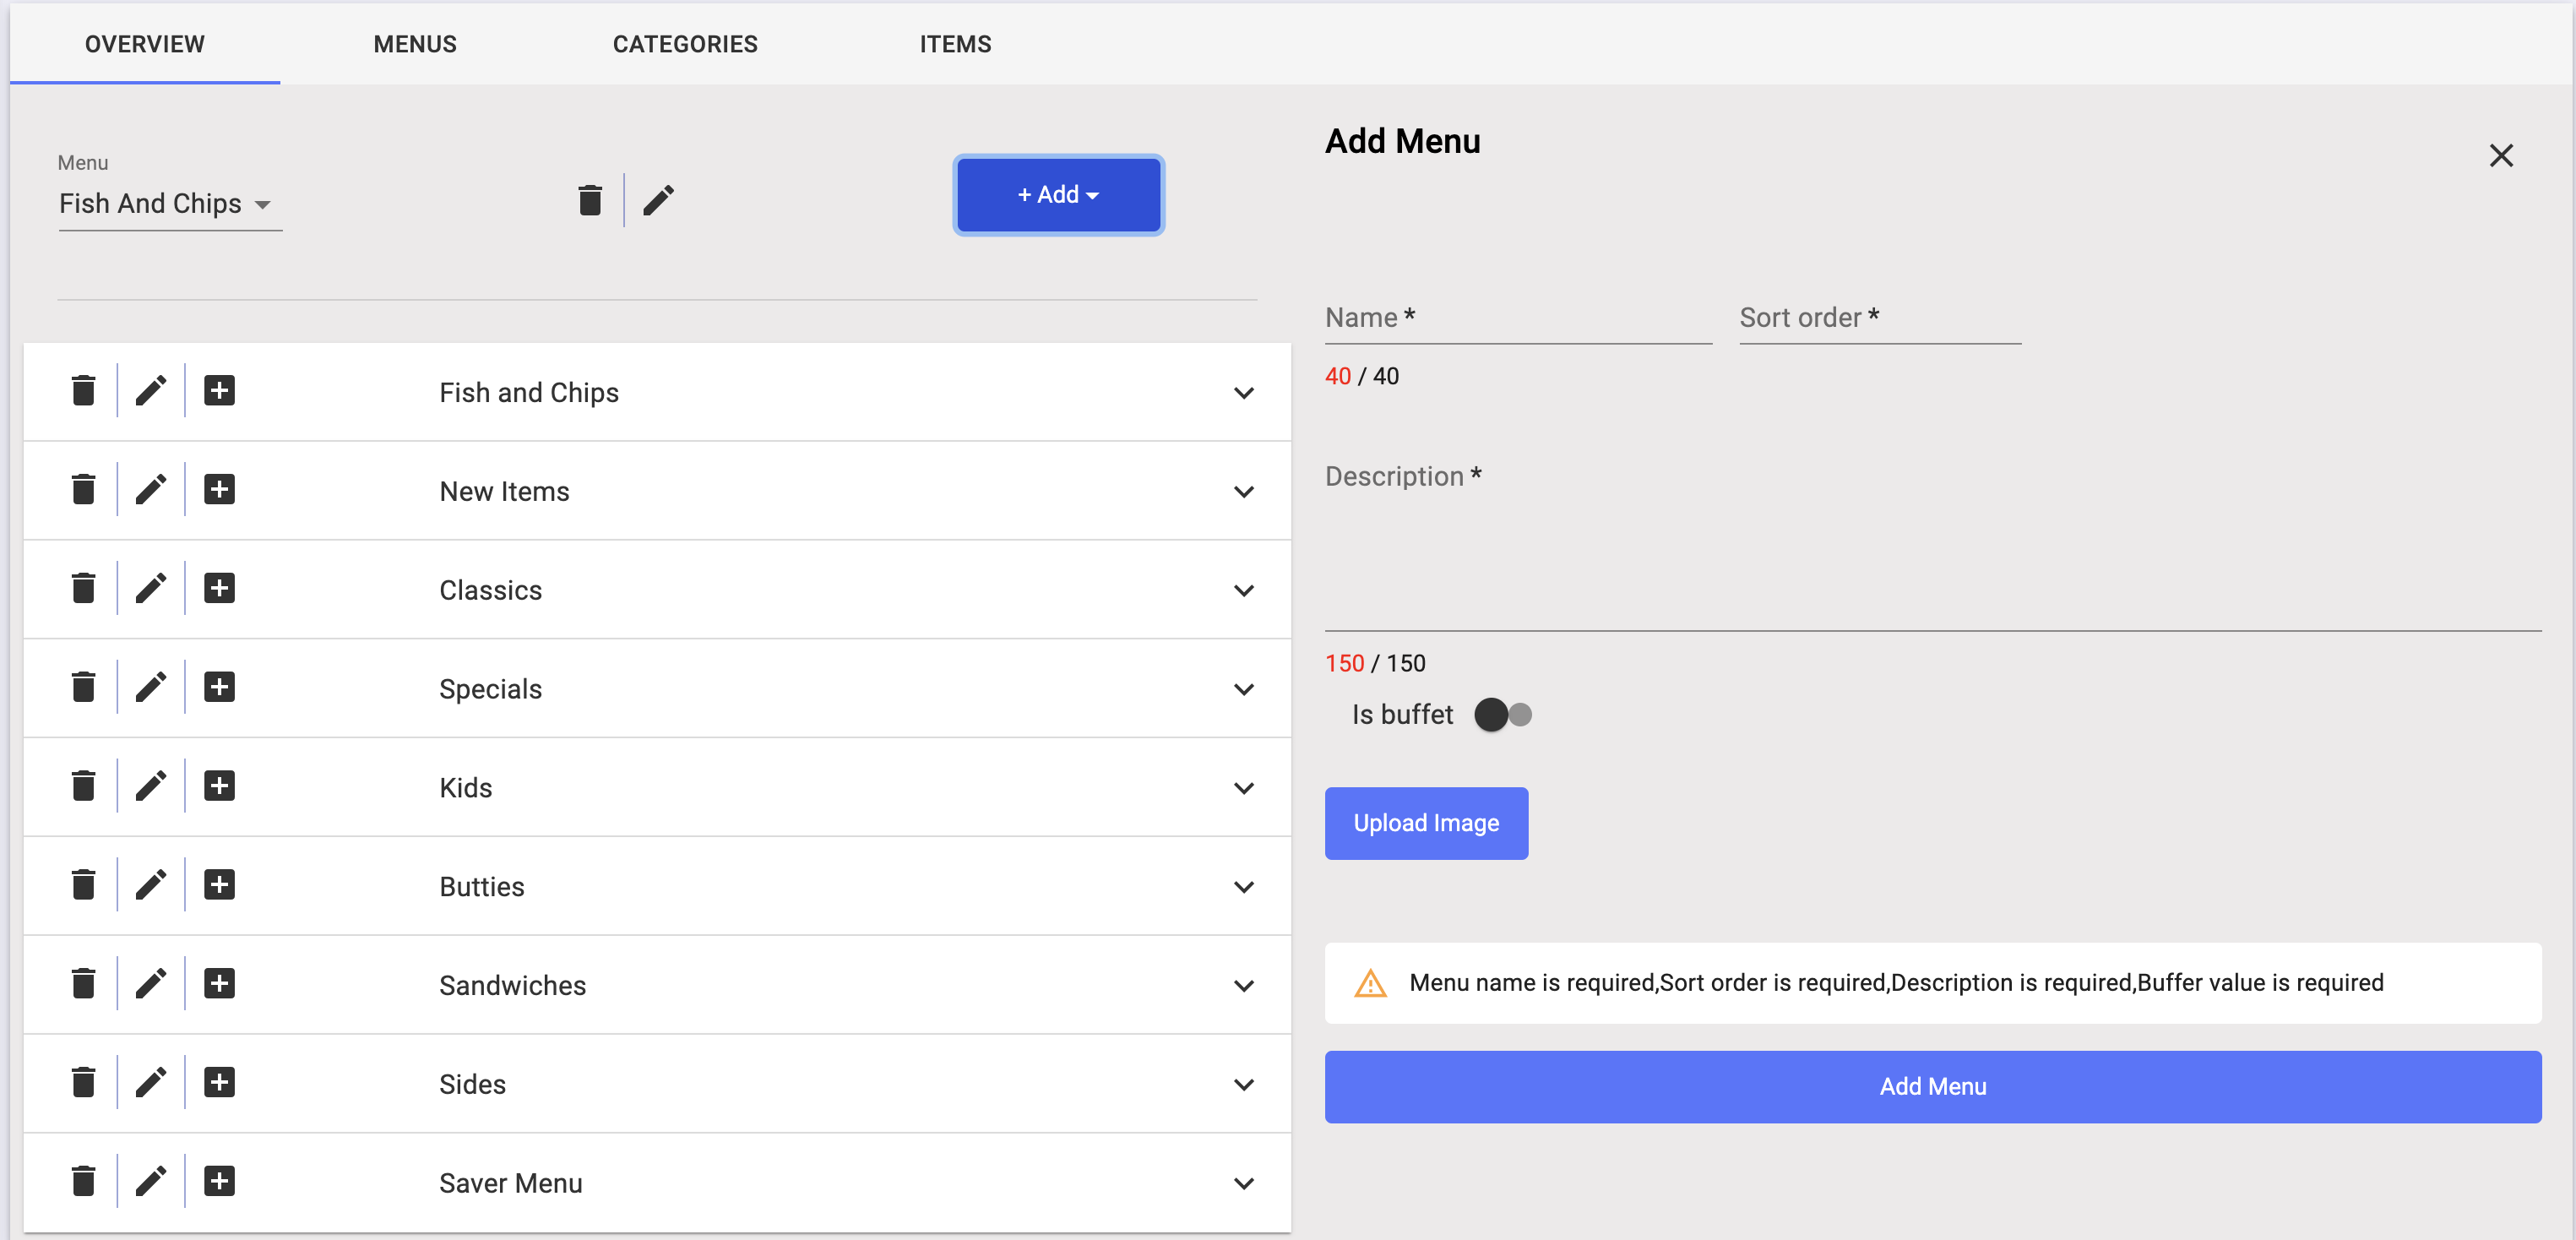
Step 1: Add a New Menu
- Click Menu in the left-hand menu.
- Click the purple Add button, then choose Add Menu.
- Fill out the form:
- Name
- Sort Order (lower number = higher display priority)
- Description (for internal reference)
- Image (optional)
- Click Add Menu to save.
5. Add Categories to a Menu
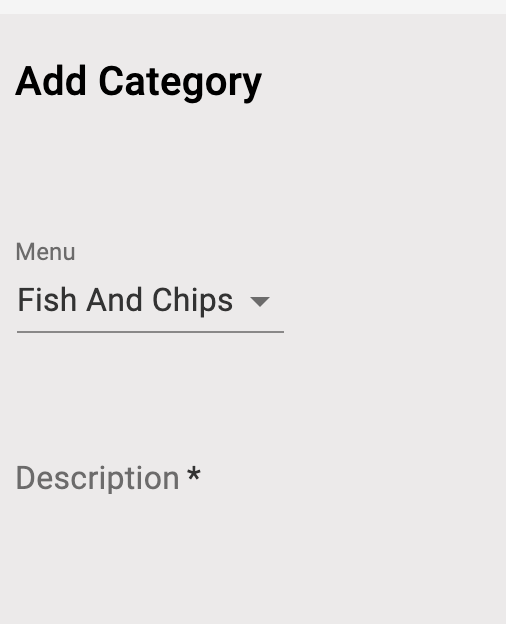
- Choose the Menu you want to work in (e.g., Fish and Chips).
- Click Add Category.
- Complete:
- Category Name
- Sort Order
- Description
- Image (optional)
- Click Add Category to save.

6. Add Items to a Category
- Open the Category (e.g., Fish and Chips)
- Click Add Item (+).
- Fill out:
- Item Name
- Quantity (use 10,000 if not using inventory)
- Price
- Sort Order
- Max Number of Extras Allowed
- Description (e.g., ingredients or details)
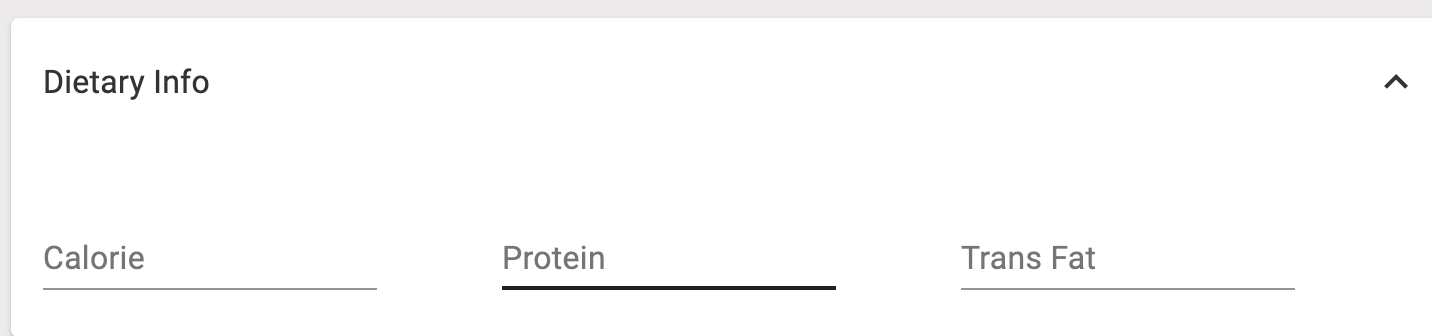
- Click the Dietary Info tab to enter calories, fats, proteins

7. Set Item Status & Availability
- Status: Set to Available or Not Available
- Availability: Choose where the item should show (Takeaway, Delivery, Dine-In, Kiosk)
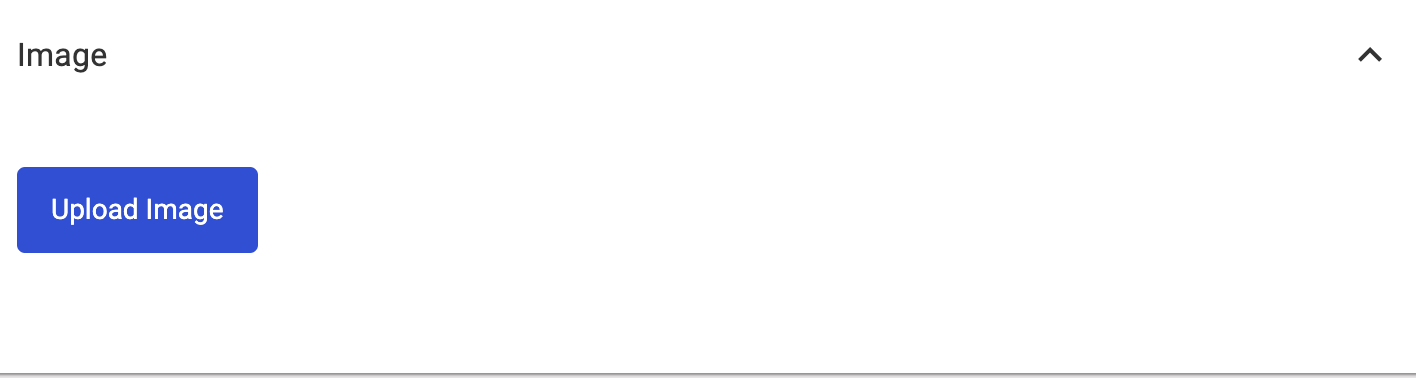
8. Upload an Image for the Item
- Click Upload Image
- Click Choose File
- Crop the image
- Click Save Changes
- Click Add Item to finish


9. Add Extras
- Click the Pencil icon on an item (e.g., Fish and Chips)
- Select Manage Extras
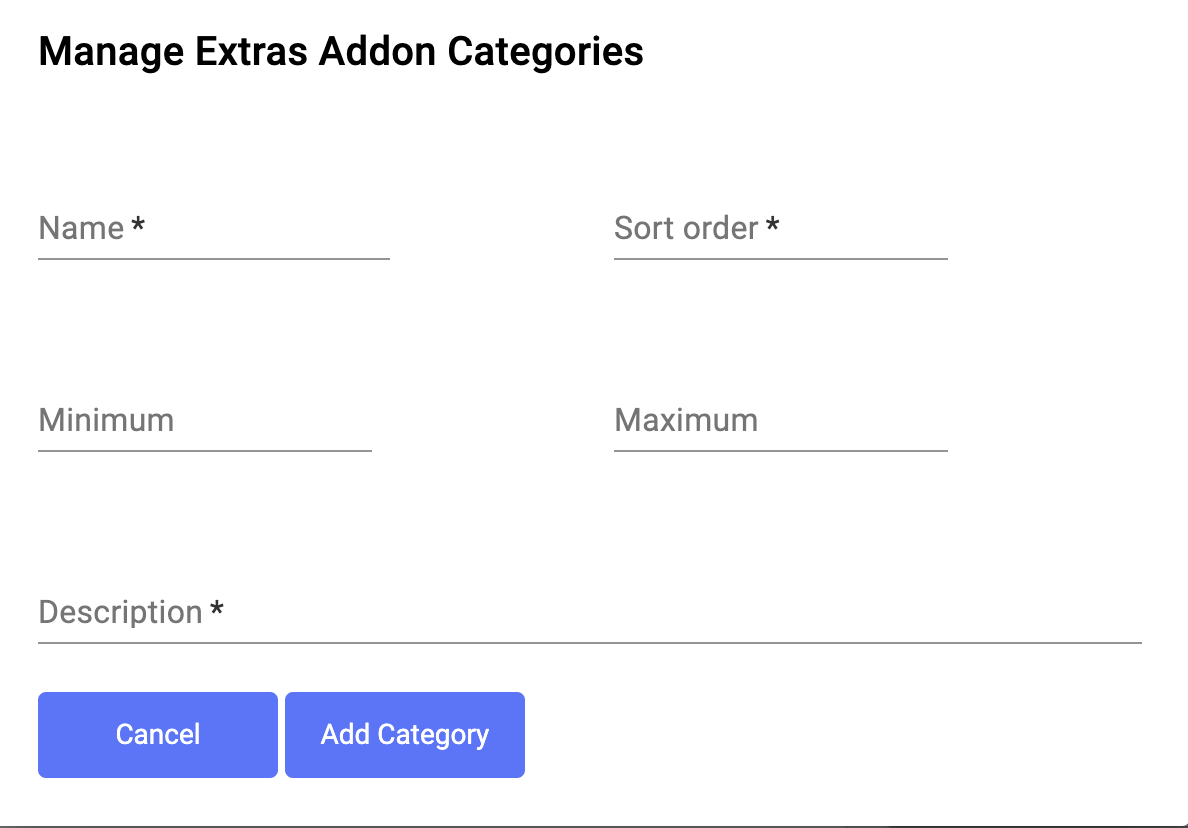
- Click Add Extra Categories
- Fill in:
- Name
- Sort Order
- Min/Max Selection
- Description (e.g., Select your fries)
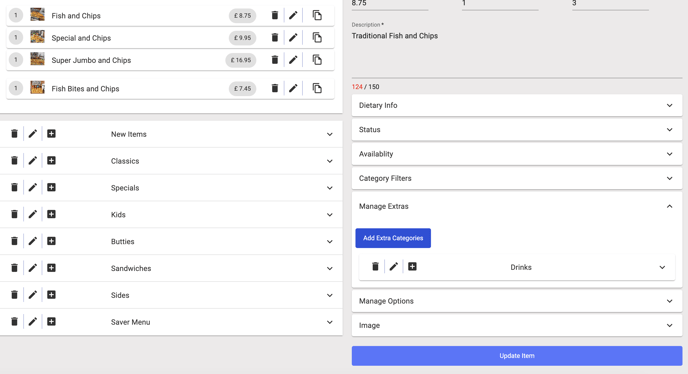
- After adding the category, click the Plus (+) icon to add extras:
- Extra Name
- Price
- Stock Quantity
- Sort Order
- Min/Max Allowed
- Description (e.g., Spicy Fries in peri peri salt)
10. Add Options
Options allow for one mandatory selection (e.g., milk type or drink choice):
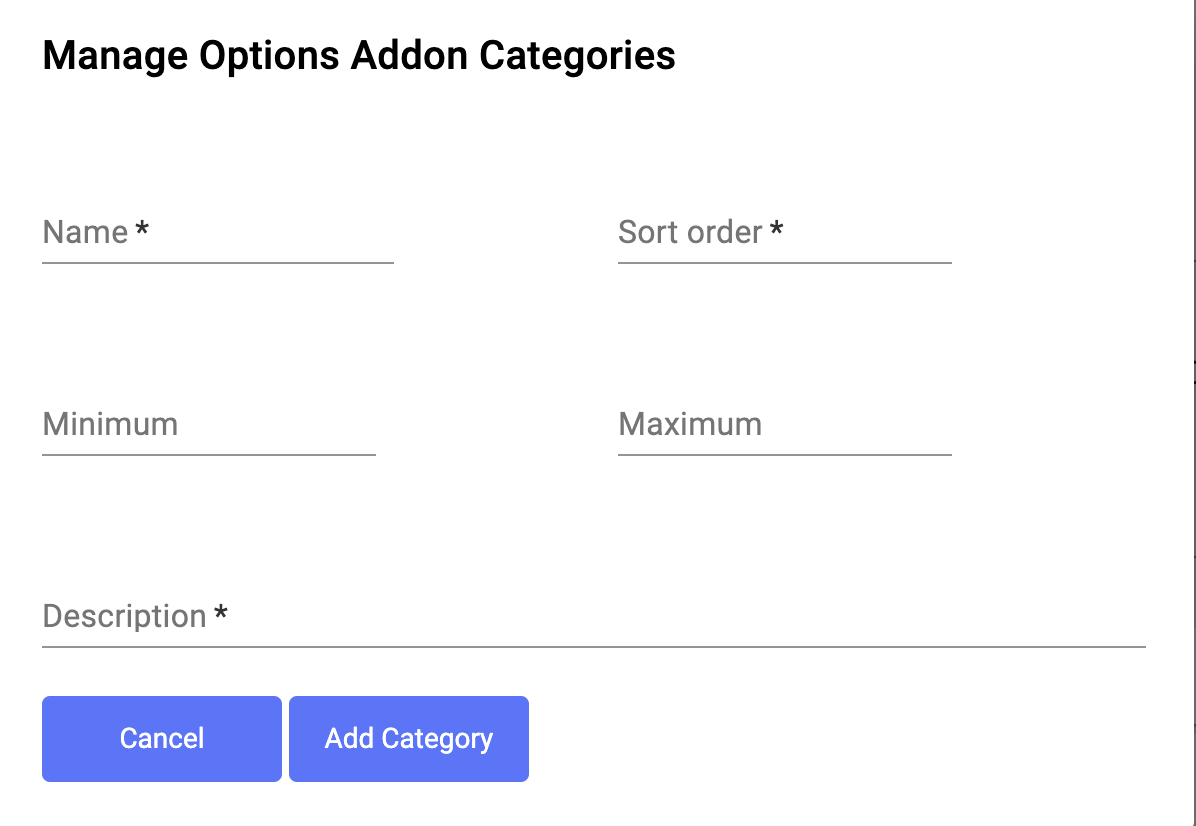
- Click Add Option Categories
- Fill in:
- Name
- Sort Order
- Min/Max Selections
- Description

- Click the Plus (+) icon to add options:
- Name
- Quantity
- Sort Order
- Description
- Upload an Image (optional)
- Click Add Option
✅ Menu Setup Complete
You've now created a fully functional menu on Kayana.
For help with growing your business using Kayana tools, contact:
sales@kayana.co.uk