


How to Add Items to Your Menu
Last updated Jun 3, 2025
Once your menu and categories are in place, you can begin adding individual items like meals, drinks, or specials.
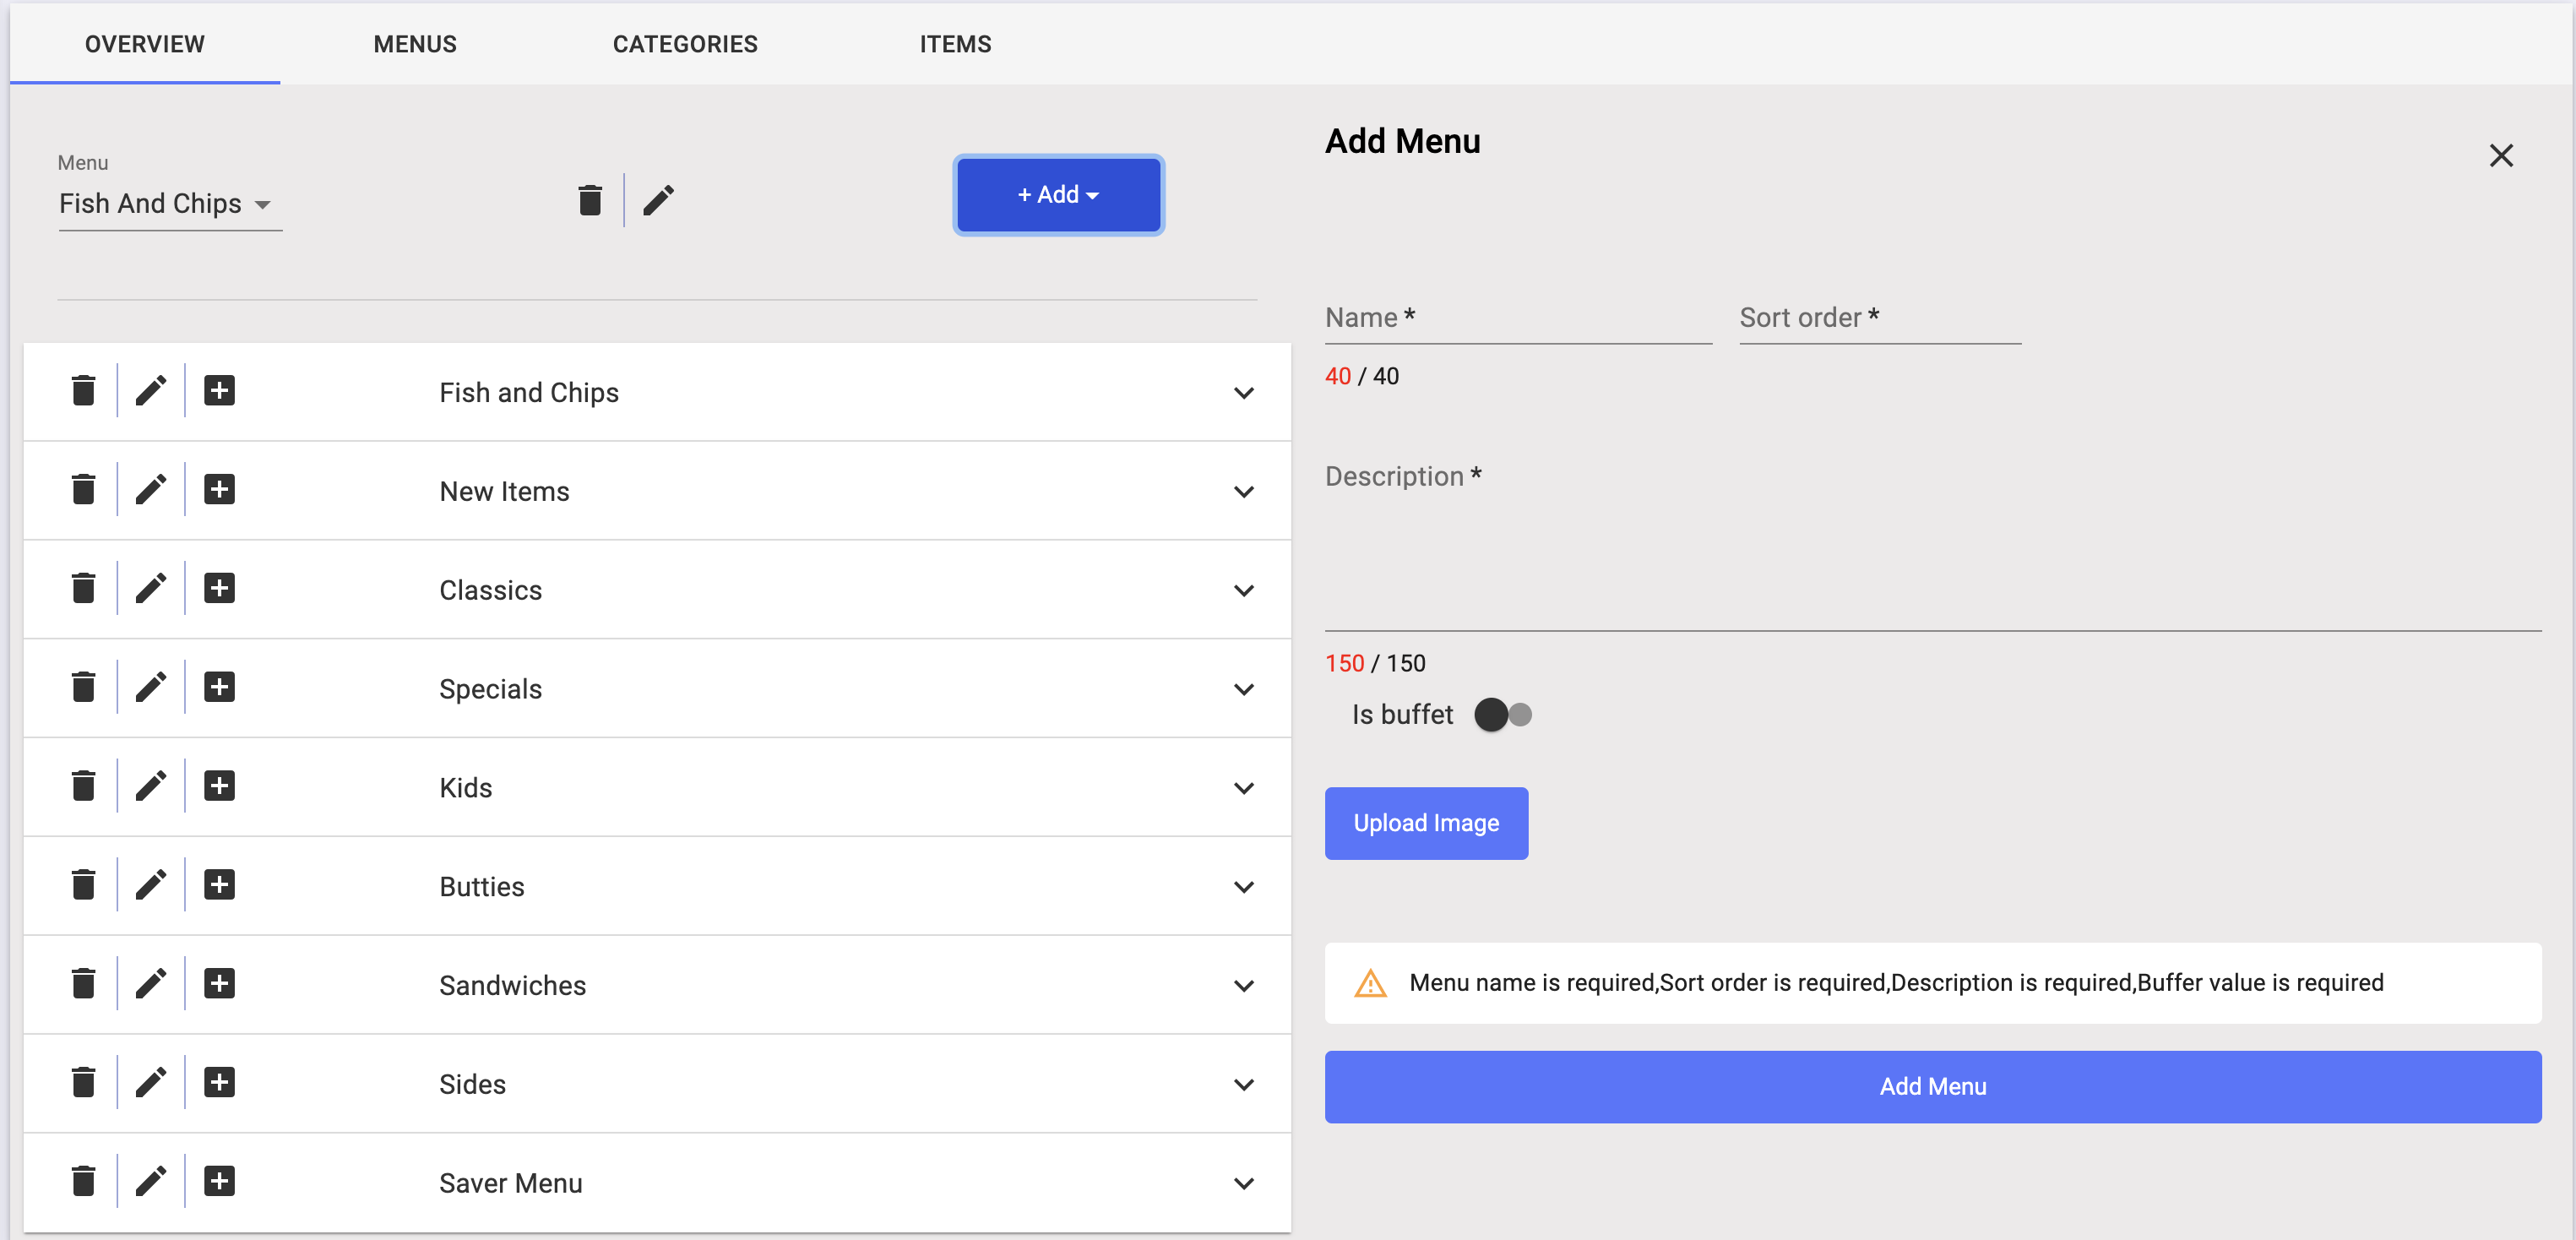
1. Select a Category
- Navigate to the Menu section in the Kayana Partners Portal.
- Select the category where you want to add a new item (e.g., Fish and Chips).
- Click Add Item (+).

2. Fill Out the Item Details
Once you click the plus icon, the item creation panel will appear on the right-hand side.
Enter the following details:
- Item Name
- Quantity: If you’re not tracking inventory, enter a large number (e.g., 10,000)
- Price
- Sort Order: Lower number = appears higher in the list
- Max Extras Allowed: Limits how many extras can be selected (e.g., a burger shouldn’t allow 50 extras)
3. Add a Description
- Enter a description of the item.
Example: “Cheeseburger with fresh lamb mince, cheddar cheese, tomato and cucumber.”
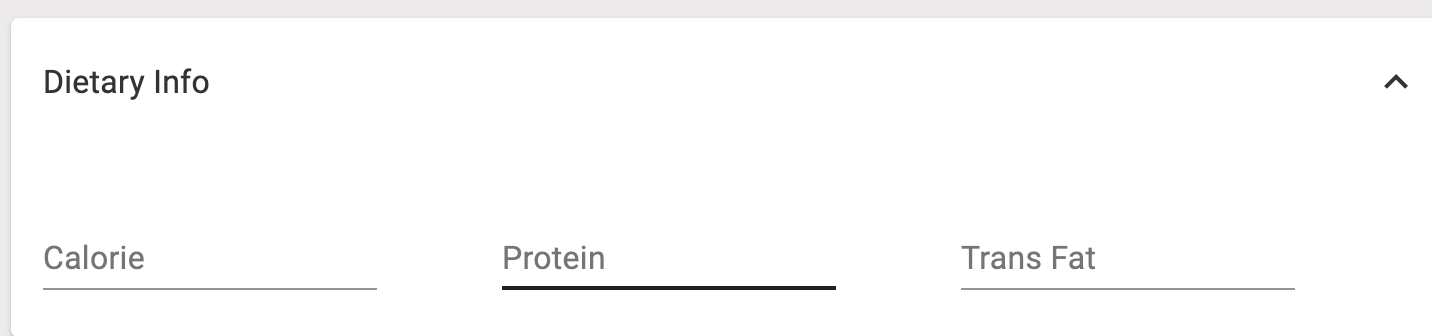
4. Add Dietary Information
- Click the Dietary Info tab
- Add relevant details like calories, fat, and protein
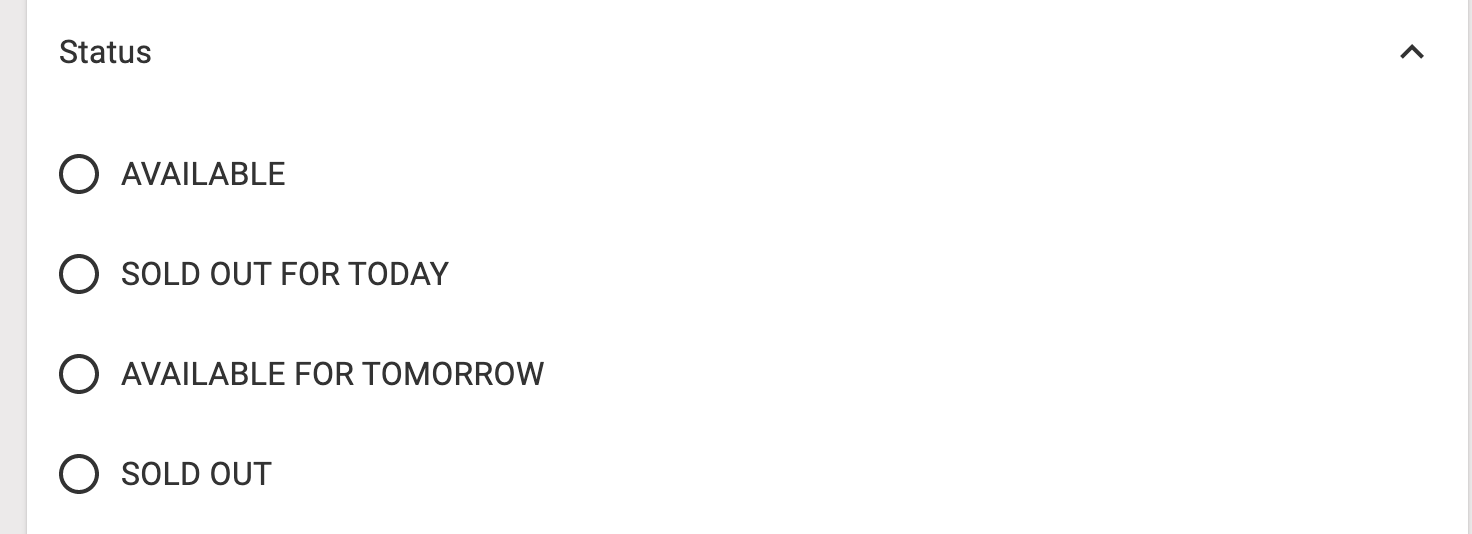
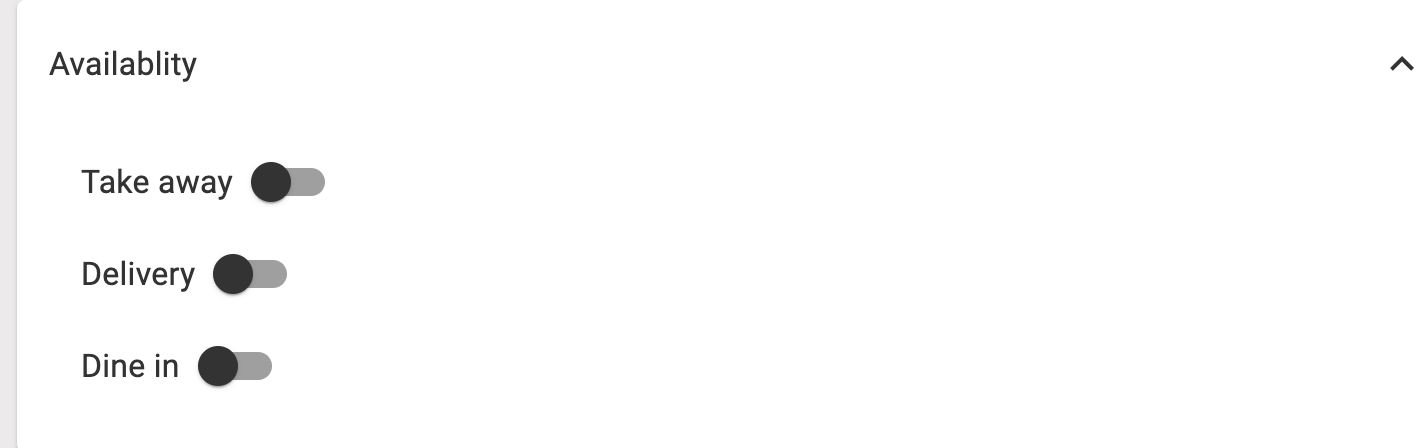
5. Set Item Status and Availability
- Status: Mark the item as Available or Not Available
- Availability: Select where the item should appear — Takeaway, Delivery, Dine-In, or Kiosk
6. Upload an Item Image
- Click Upload Image
- Click Choose File
- Crop the image as needed
- Click Save Changes

7. Save the Item
- Once all details are filled and image uploaded, click Add Item to finalize.
8. Next Step: Add Options and Extras
After saving the item, you can proceed to:
- Add Options (e.g., drink choices, cooking preferences)
- Add Extras (e.g., add cheese, upgrade size)
👉 For steps on adding these, refer to the “How to Add Options and Extras” guide.