
How to Discover and Book Event tickets on Kayana Tickets
Last updated Feb 19, 2026
This guide covers the end-to-end process for customers using the Kayana Tickets platform, from creating an account to receiving a digital ticket.
Step 1: Sign In or Sign Up
Go to book.kayanatickets.com and locate the Login option in the top right corner. 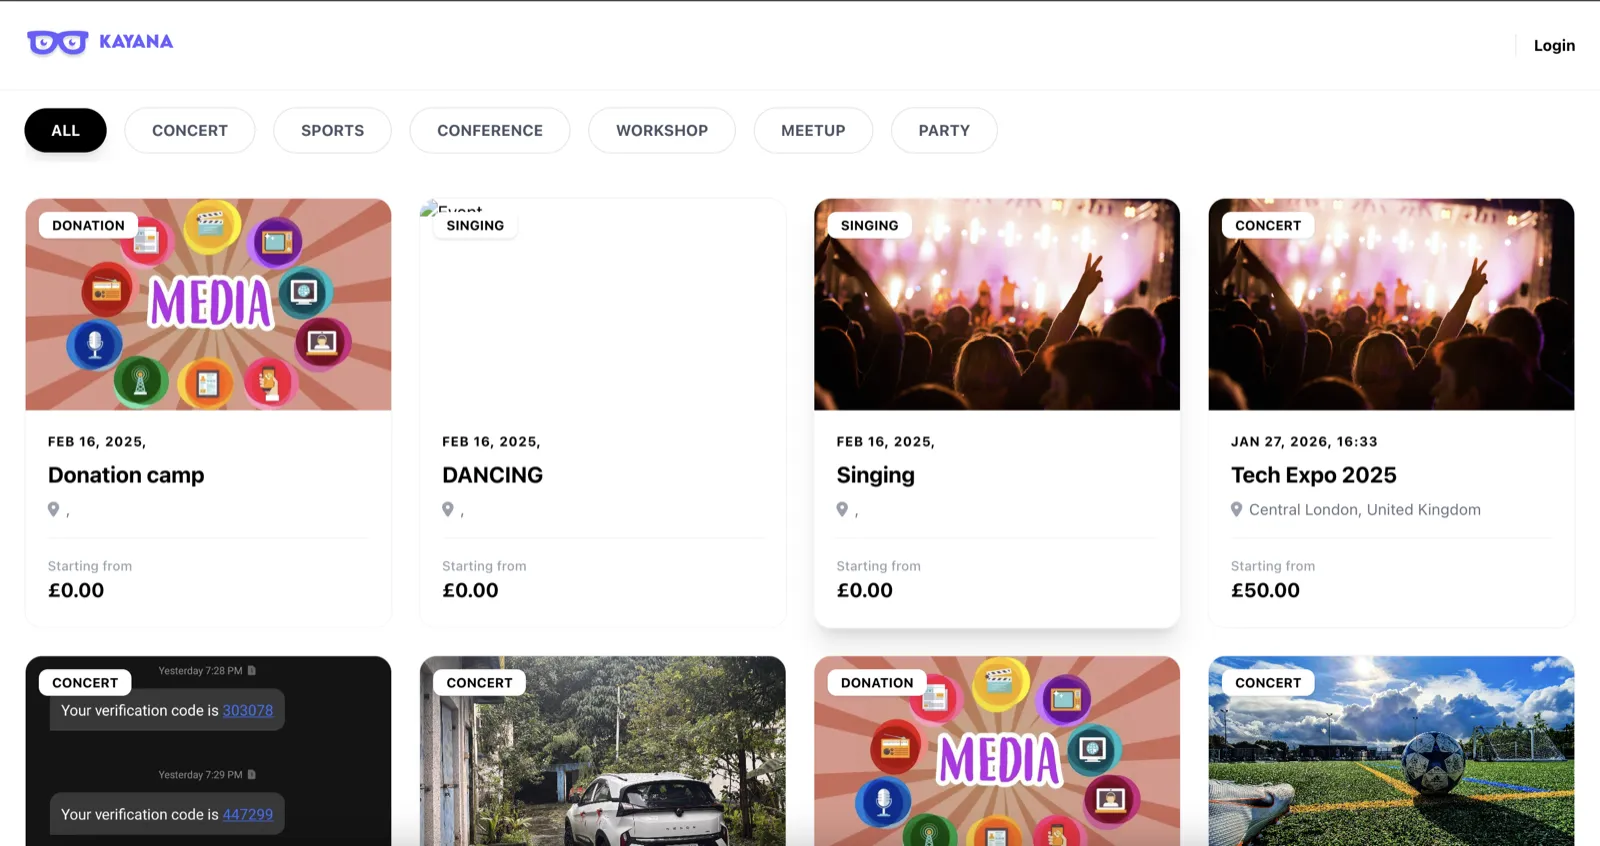
- A view of the sign in/ sign up window Existing Users: Enter your registered phone number and password to sign in.
- New Users: Select the sign-up option and complete the "Create your account" form:
- Personal Info: Enter your First Name, Last Name, and Email Address.
- Contact Number: Select your country from the international dropdown list and enter your mobile number.
- Security: Create a password and check the box to agree to the Terms of Service.
Step 2: Dashboard and Event Discovery
Once logged in, your name will appear at the top of the dashboard. You can browse all available events or use the category filters to narrow your search.
Available Filters:
- Concert
- Sports
- Conference
- Workshop
- Meetup
- Party
Step 3: Selecting and Booking Tickets
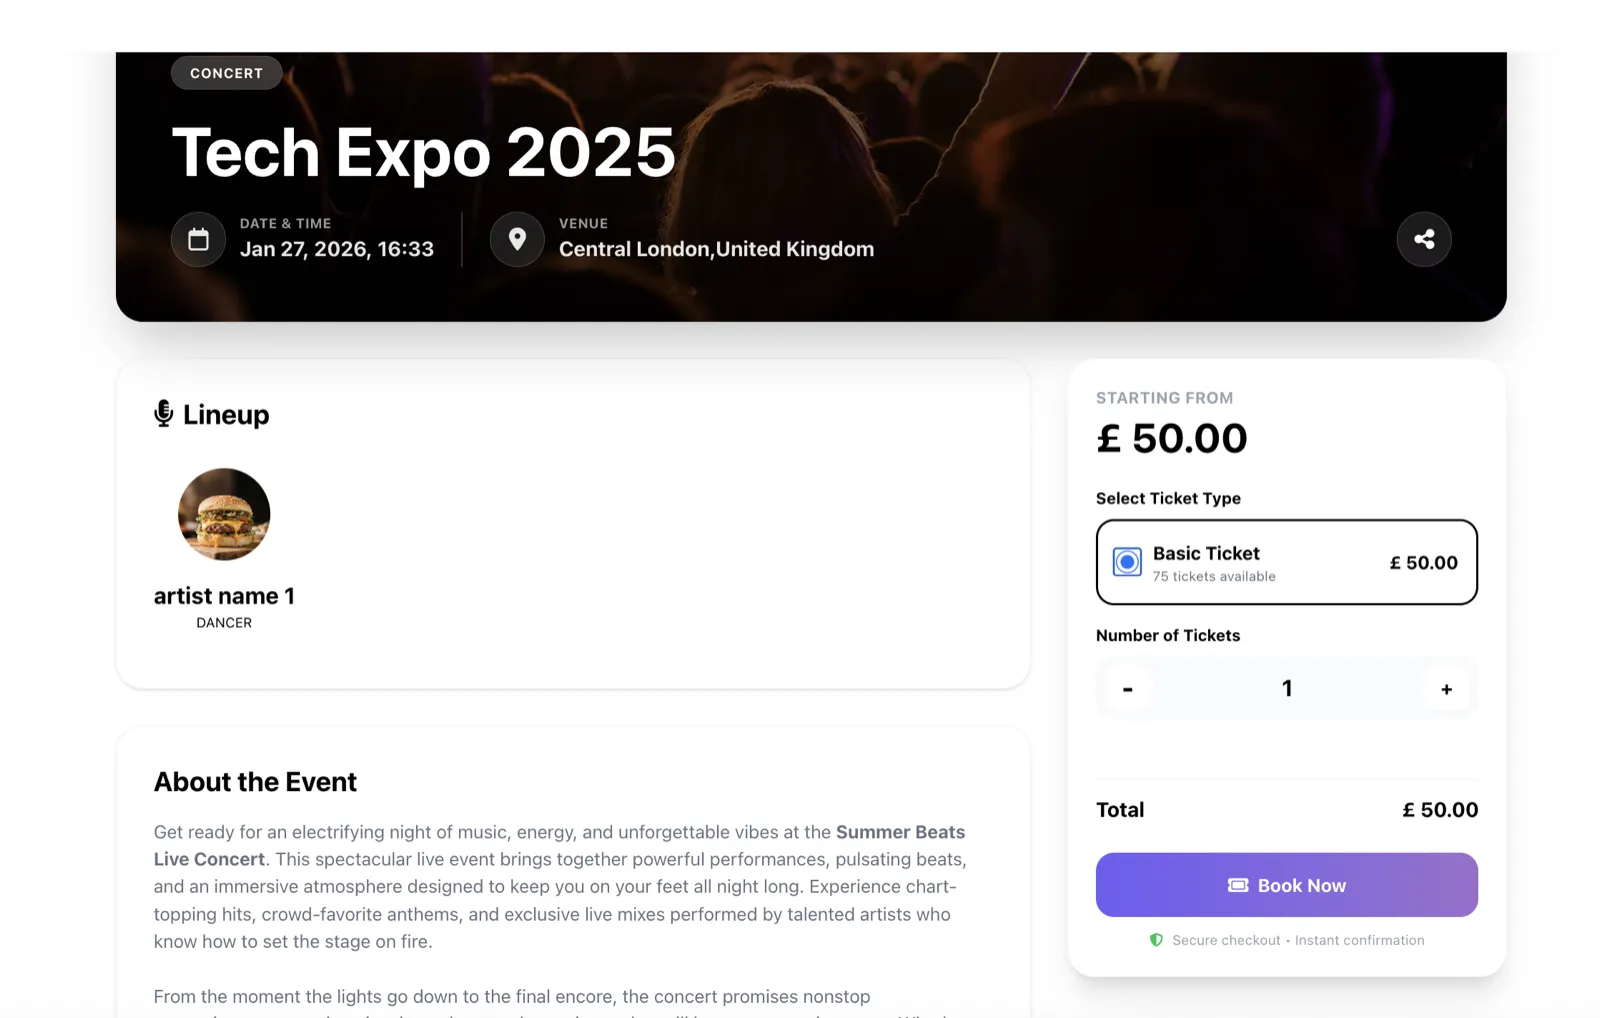
- Select Event: Click on the event card you are interested in.
- Choose Tier: View the available ticket tiers (e.g., General Admission, VIP).
- Initiate Booking: Select the number of tickets and click the Book Now button.
Step 4: Payment and Confirmation
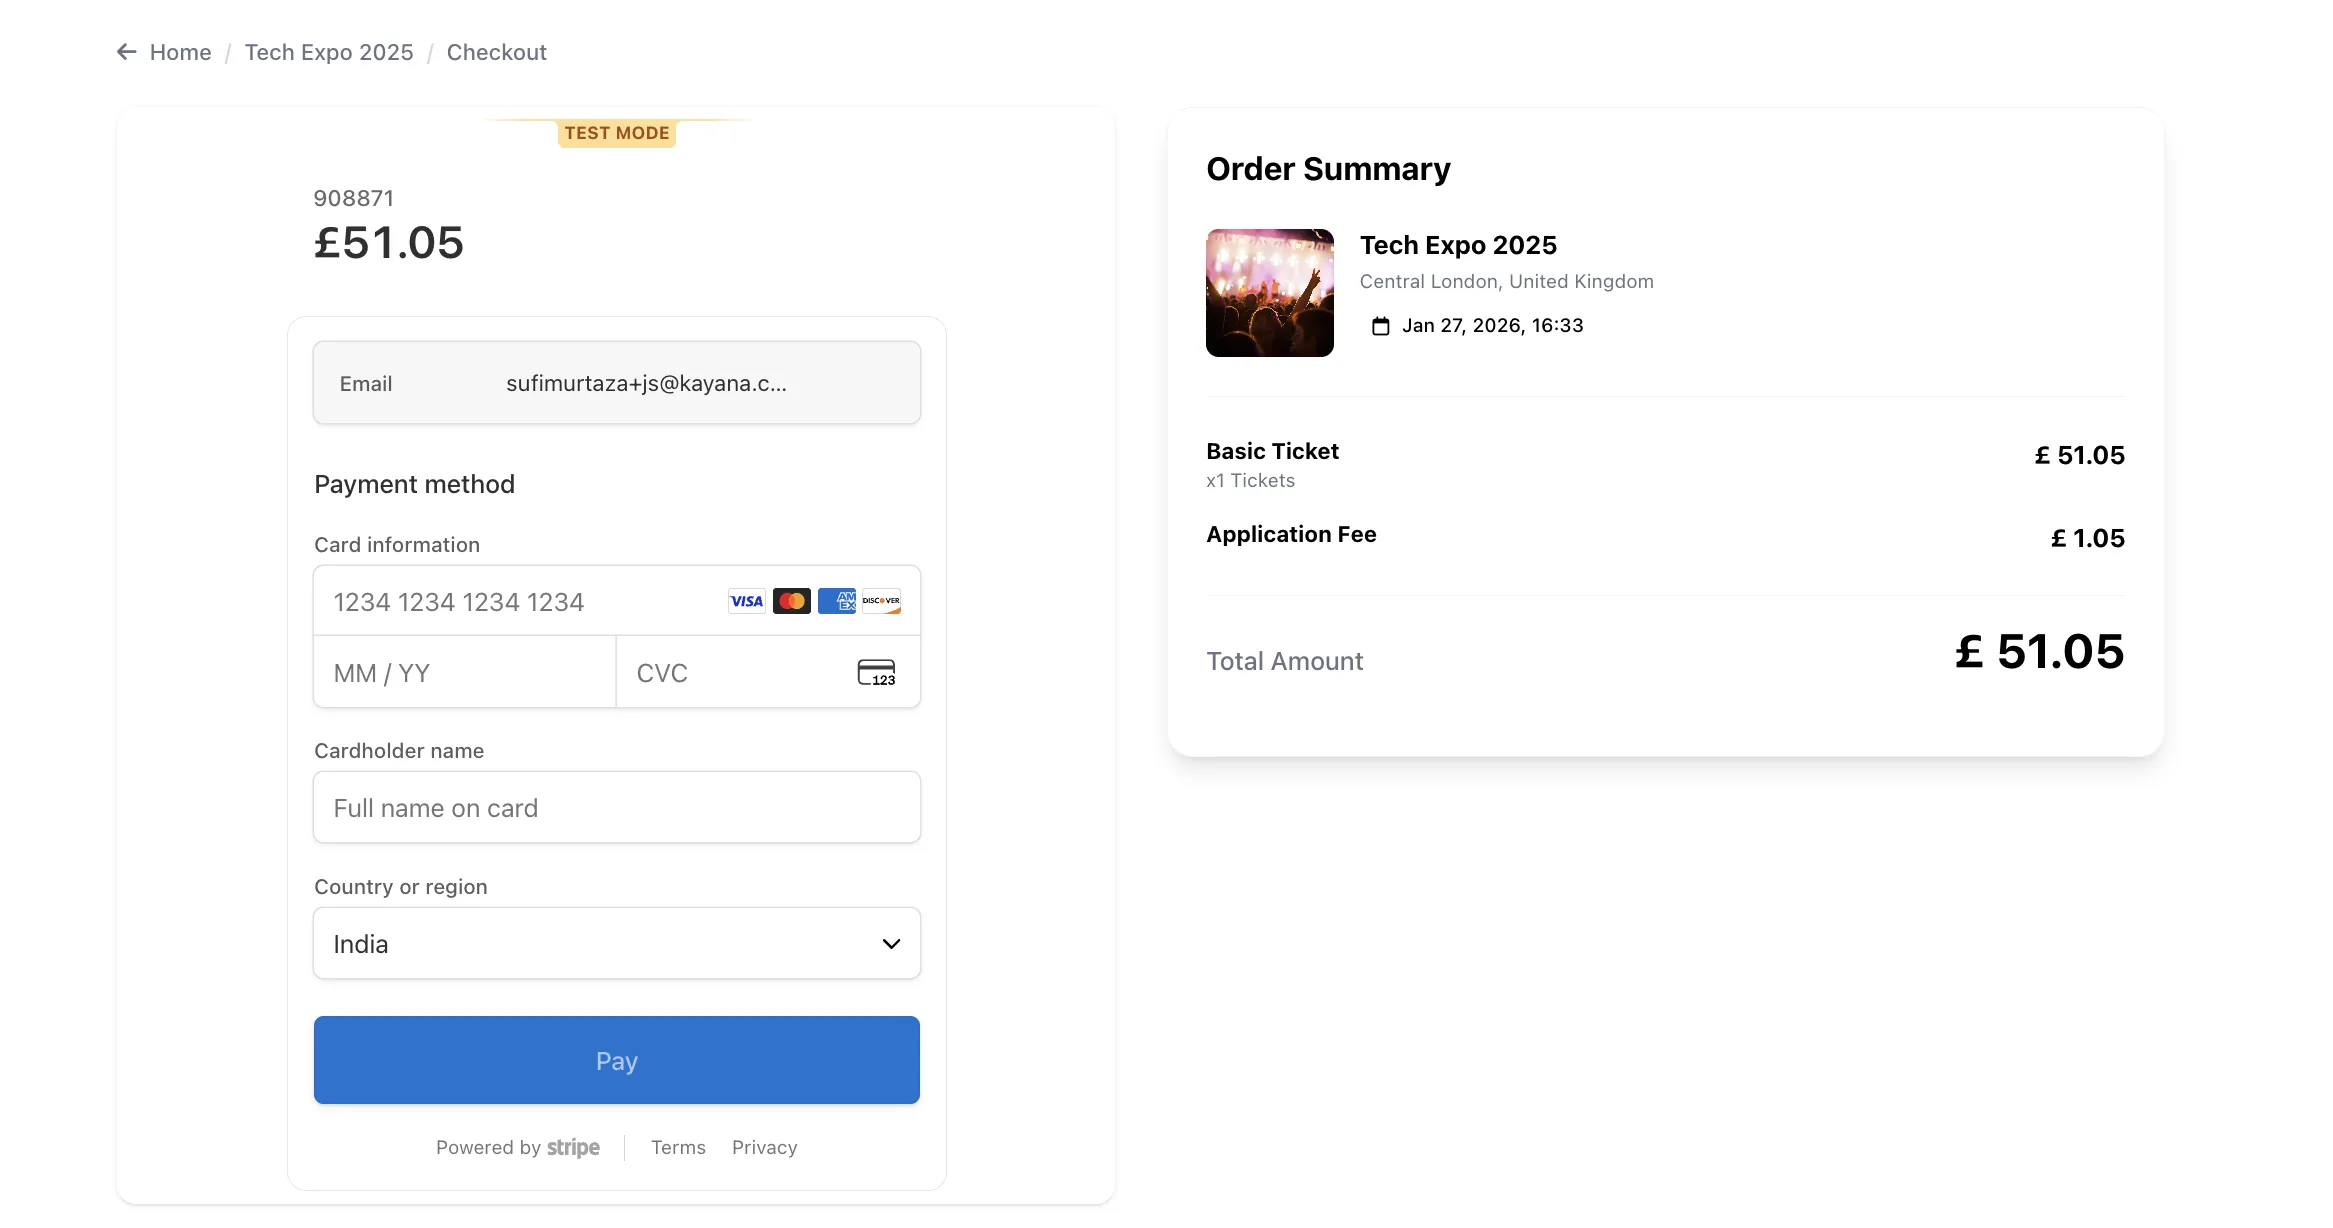
- Payment: On the checkout page, enter your credit or debit card details.
- Finalize: Click the Pay button.
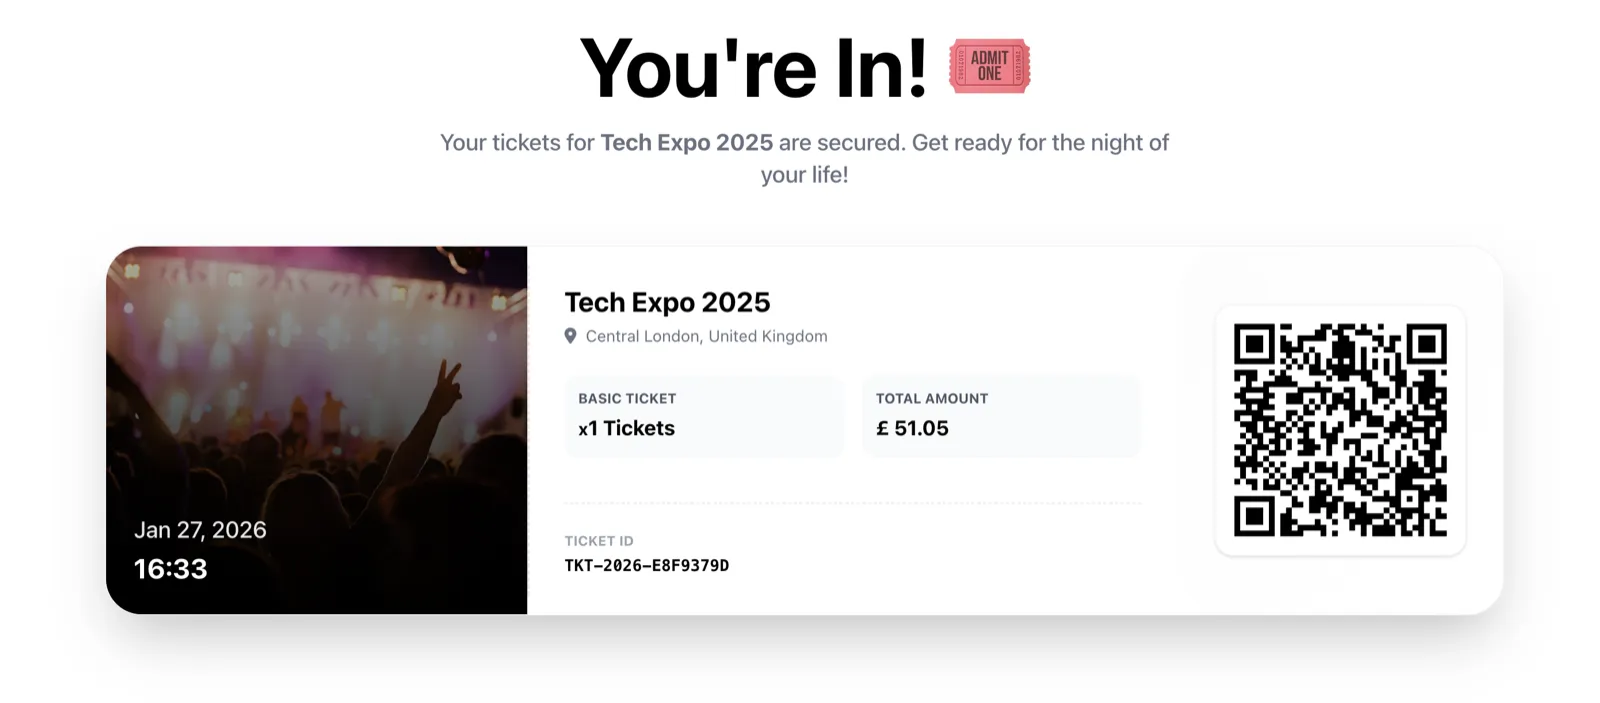
- Ticket Issued: Once the payment is processed, your ticket will be generated immediately. It will feature a unique QR code which will be scanned for entry at the event.
Next Steps:
Now that you’ve seen the full customer journey — from signing up to receiving a QR-coded ticket — the next step is learning how to set up an event yourself.
If you're a partner using Kayana, you can create and manage events directly through the Kayana Ticketing section in Partner Admin. This is where you’ll:
- Add event details (name, date, location, description)
- Create ticket tiers and pricing
- Set capacity limits
- Choose whether your event is public or PIN-protected
- Publish the event live on Kayana Tickets
👉 Continue with: How to Create a New Event in Kayana Ticketing to follow a step-by-step walkthrough of setting up and publishing your event.