
How to Create a New User in Kayana Partner Admin
Last updated May 14, 2026
This guide explains how to create a new user from the Kayana Partner Admin. From the User Management screen, you can add users, assign roles, configure platform access, and set security credentials.
Steps
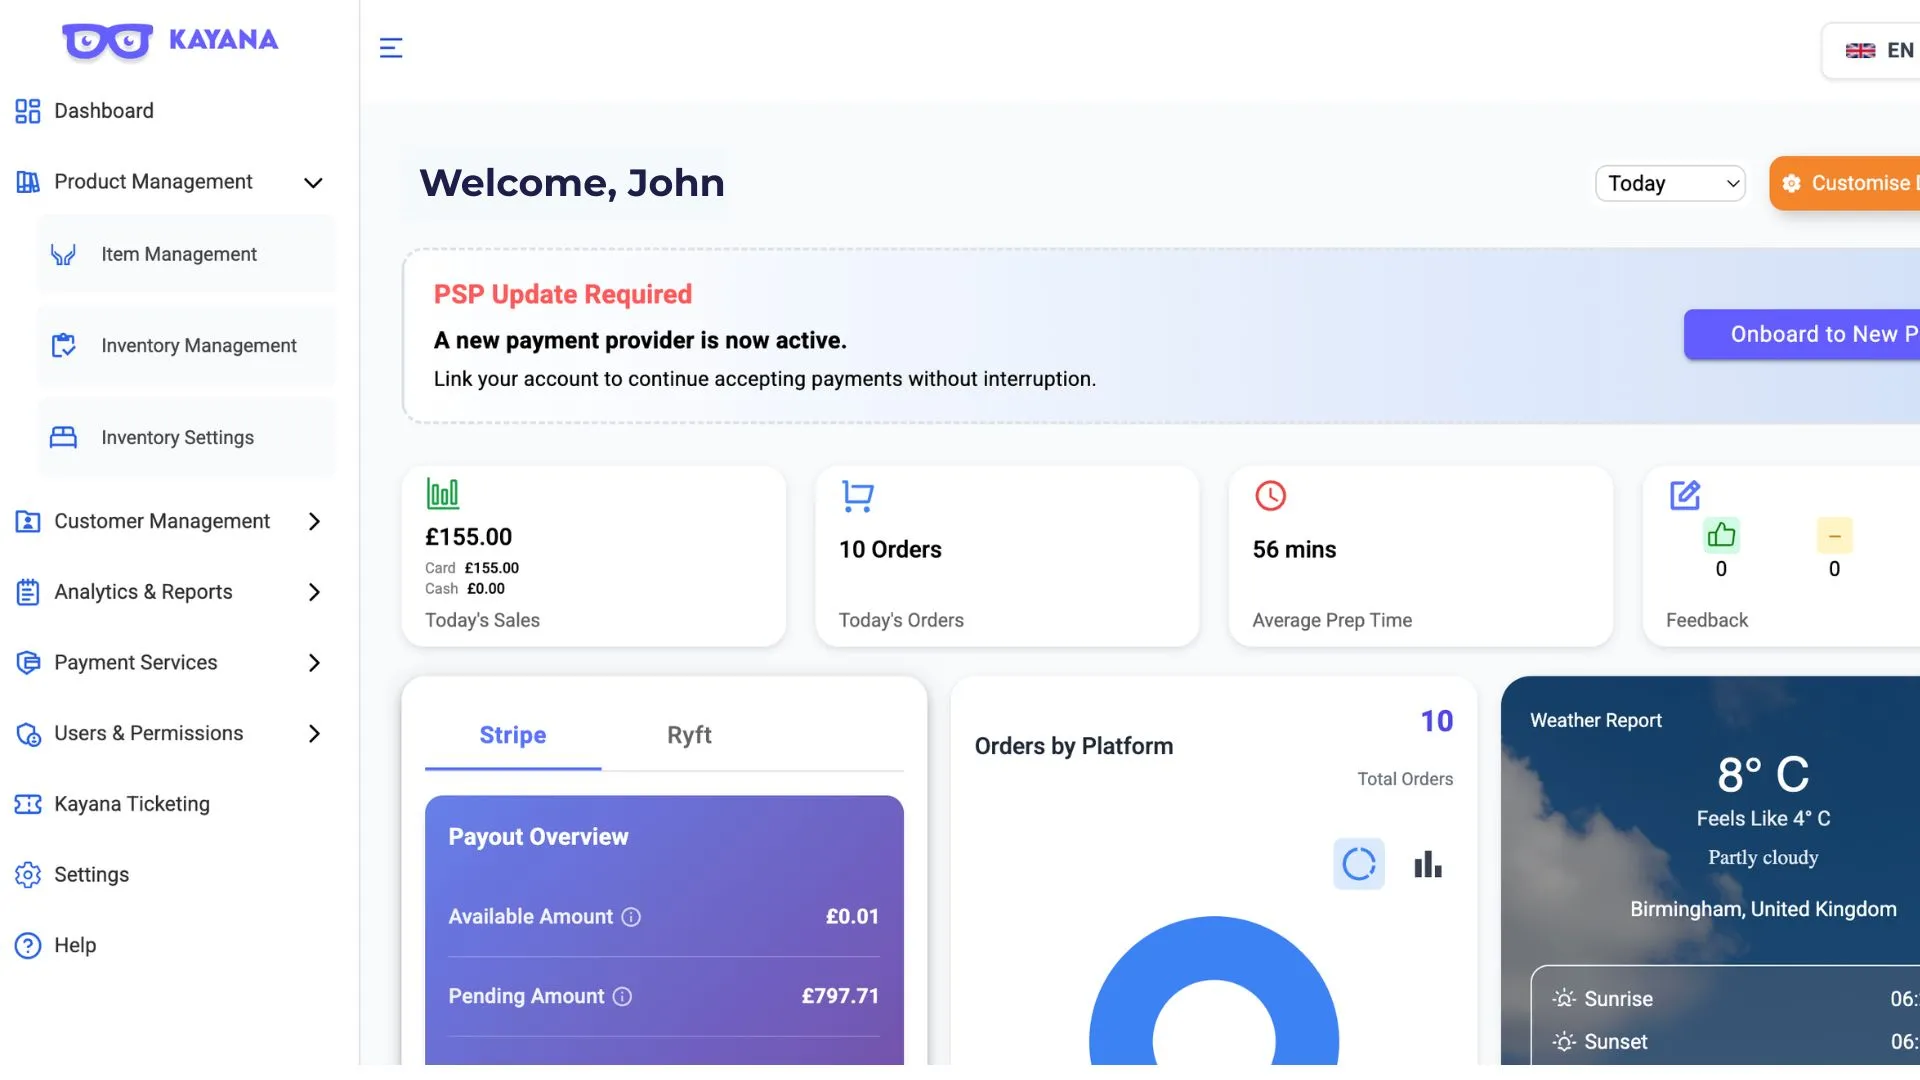
- Log in to Kayana Partner Admin using your credentials.
- From the left-hand sidebar, select Users & Permissions.
- Click User Management. The User Management screen will open, displaying all existing users along with their roles, platform access, and security settings.
- Click the + Add User button to add a new user. The Add New User form will open.
- Fill in the required details across the three sections of the form:
Basic Information
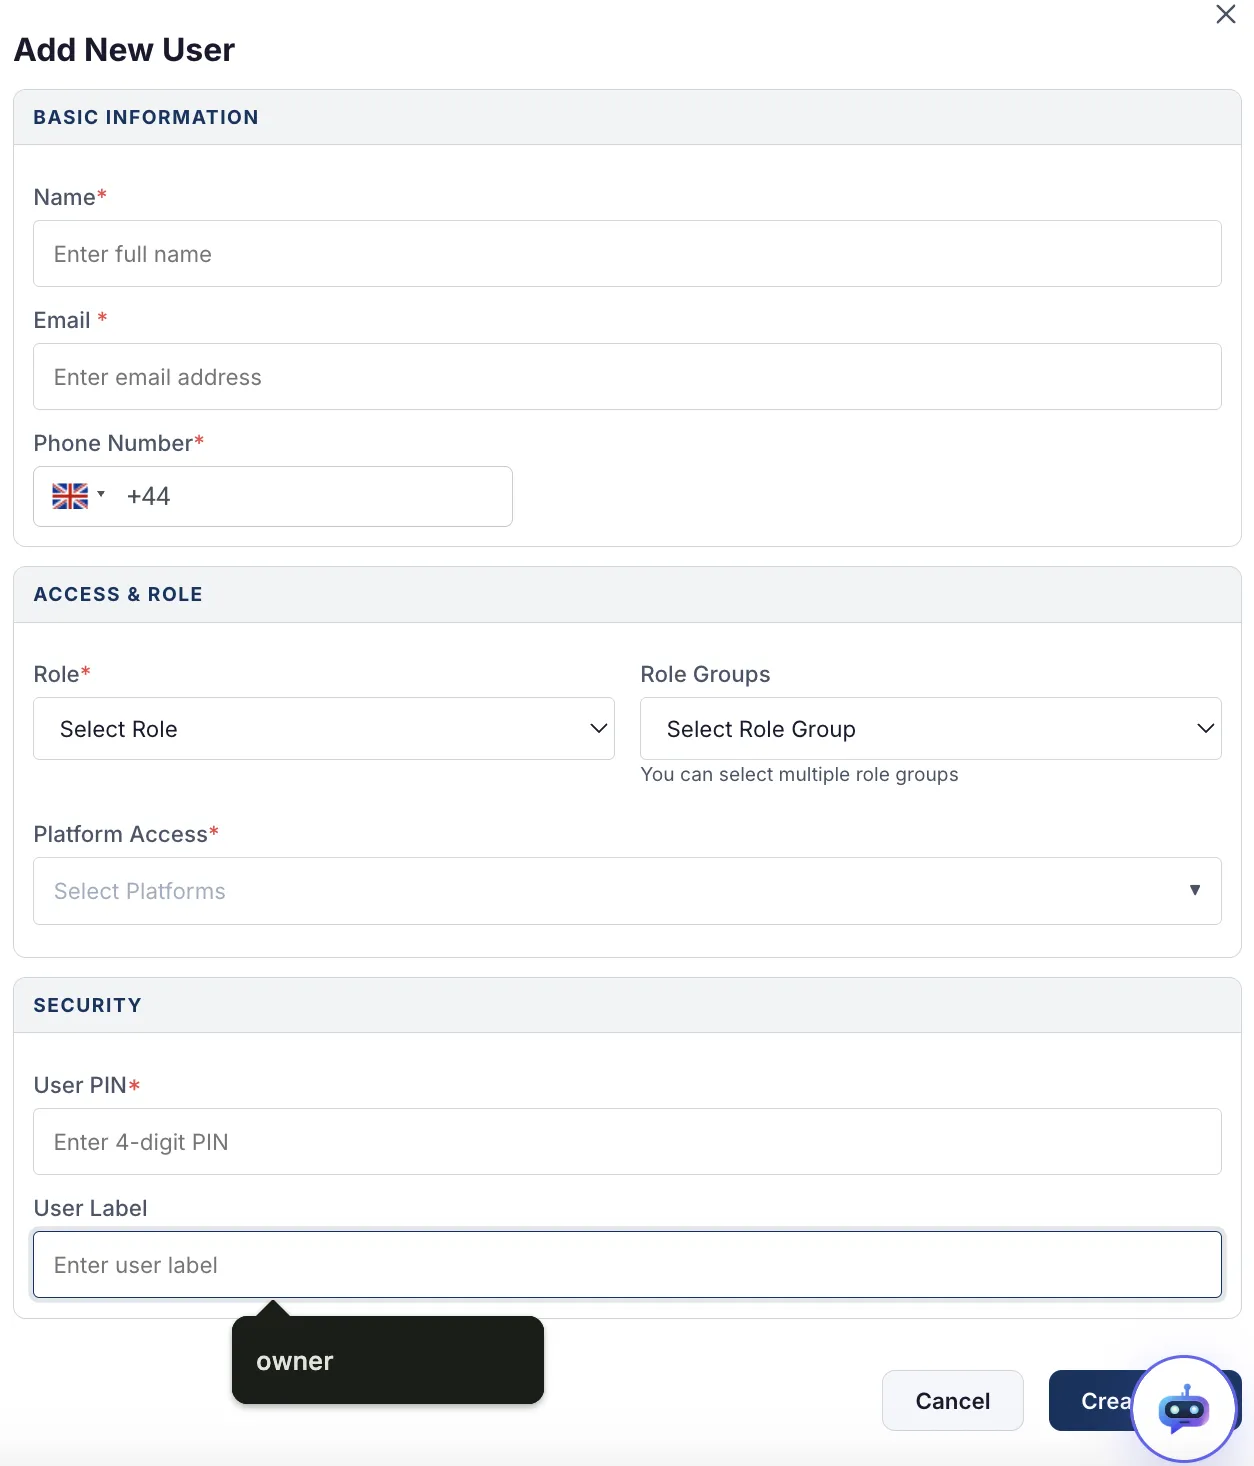
- Name — Enter the full name of the user.
- Email — Enter the user's email address.
- Phone Number — Select the country code and enter the user's phone number.
Access & Role
- Role — Select a role from the dropdown (e.g., Owner, Manager, Staff).
- Role Groups — Select one or more role groups from the dropdown. You can select multiple role groups.
- Platform Access — Select the platforms the user should have access to from the dropdown.
Security
- User PIN — Enter a 4-digit PIN for the user. This PIN is used for authentication on protected actions.
- User Label — Enter a label for the user (e.g., "owner", "manager", or a custom identifier).
Fields marked with an asterisk (*) are mandatory.
- Once all details are filled in, click the Create user button at the bottom of the form.
- A toast notification will appear confirming that the new user has been created successfully.
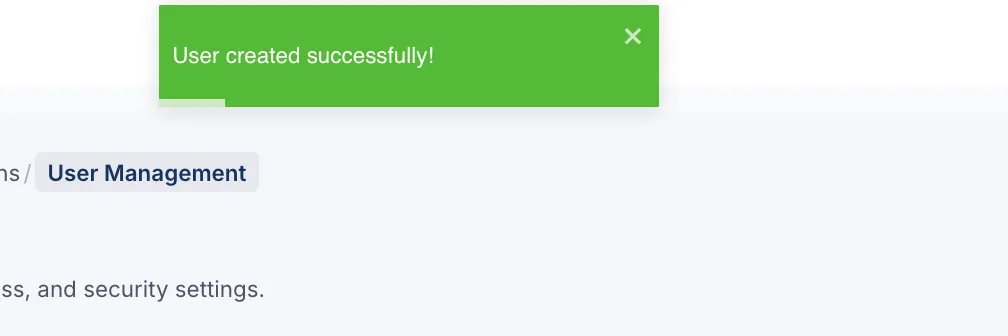
- You will be returned to the User Management screen. Refresh the page to see the newly created user in the list. Next Steps Now that you’ve created a new user, you can start managing their activity and attendance within the system. Follow our guide on Managing Staff Clock-In / Clock-Out on Kayana Partner Adminto learn how to track staff attendance and manage clock-in/clock-out actions directly from Partner Admin.