
How to Add Customers in Kayana Partner Admin for SMS Marketing and Push notifications
Last updated Jun 3, 2026
Overview
This guide explains how to add customers in Kayana Partner Admin. Adding customers allows you to build a database of customer contacts to whom you can send SMS and push notifications. Customers must be added to your customer list before they can be organized into marketing lists or receive marketing communications.
How to Access Customer Management
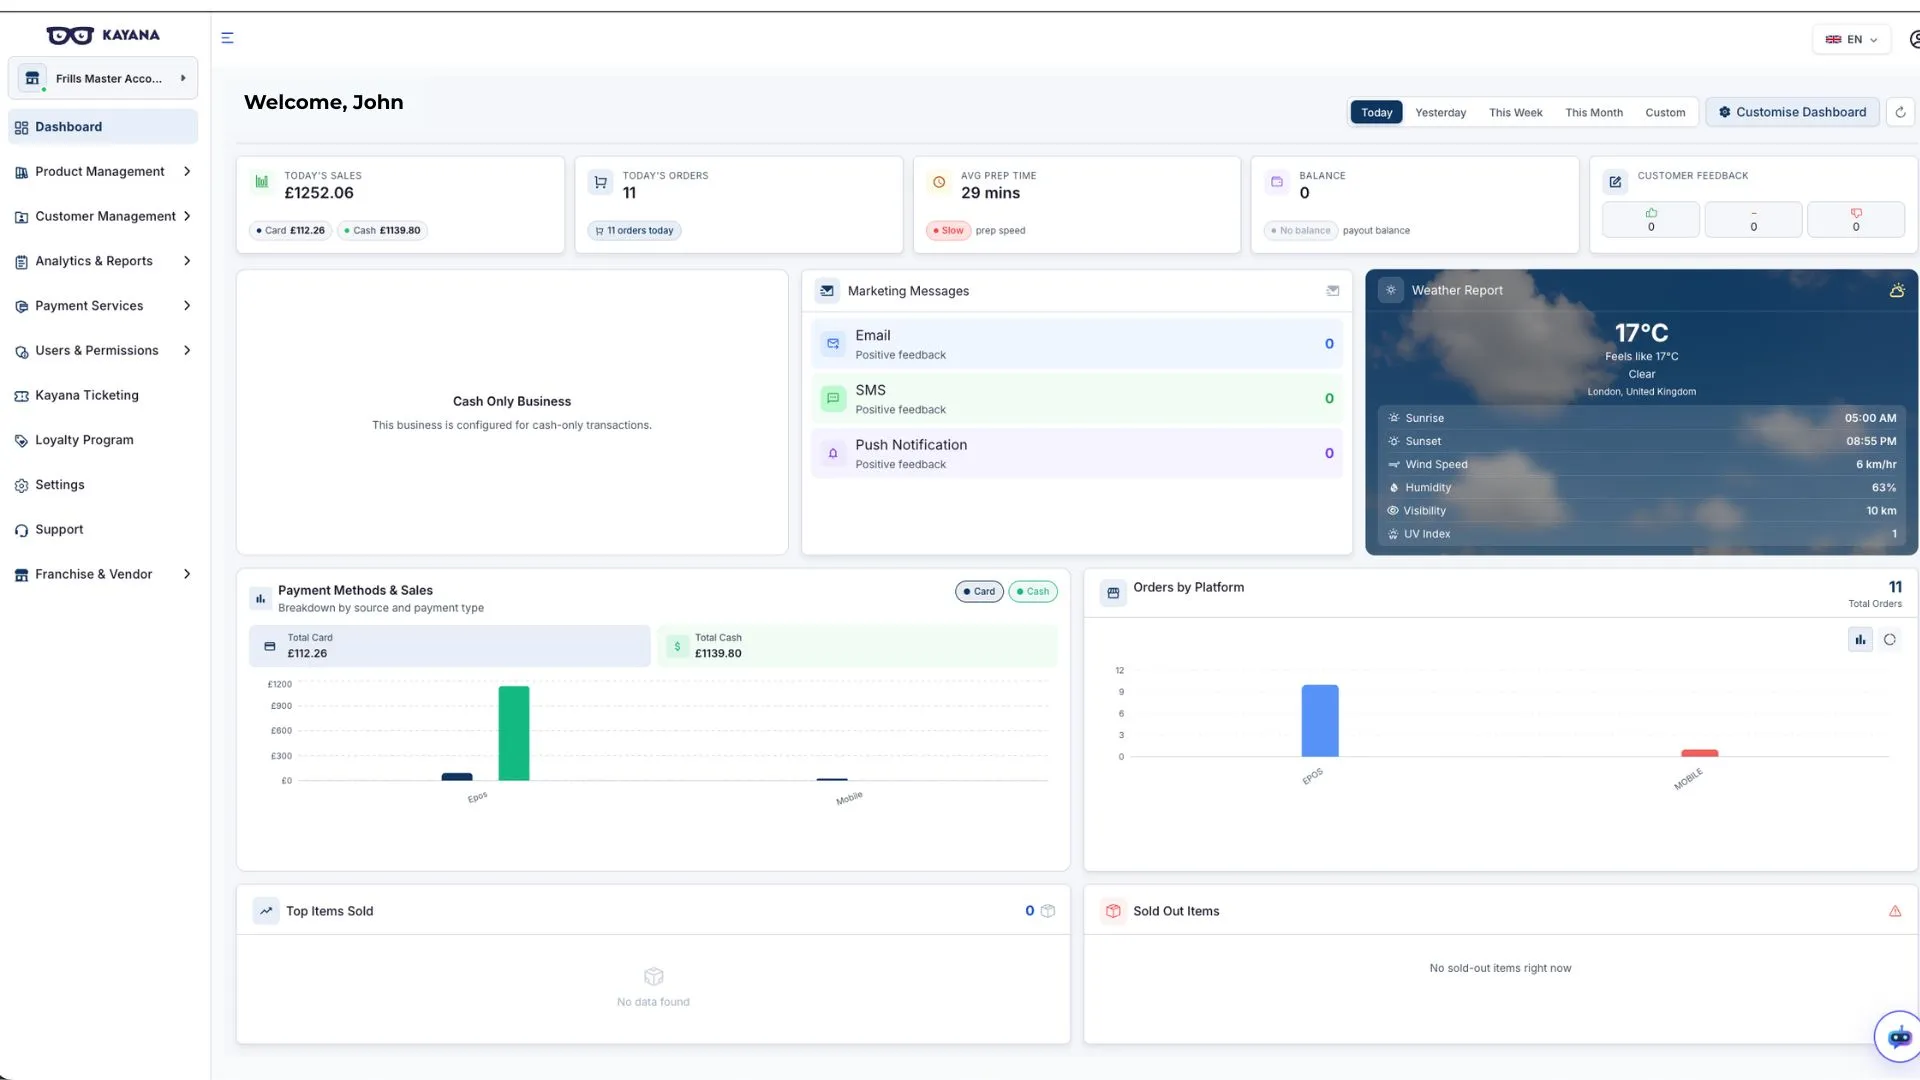
Step 1. Log in to Kayana Partner Admin using your credentials.
Step 2. From the left-hand sidebar, select Customer Management. A dropdown menu will appear. The Customers section opens by default.
Step 3. Click Customers from the dropdown (if it hasn't opened automatically). You will arrive at the Customers screen.
How to Add Your First Customer
If you haven't added any customers before, you will see a + Add Your First Customer button on the Customers screen.
Step 4. Click + Add Your First Customer. The Add New Customer form will open.
Step 5. Fill in the required details:
Name Enter the customer's full name.
Email Enter the customer's email address.
Phone Number Enter the customer's phone number.
Step 6. Once all details are filled in, click the Create Customer button at the bottom of the form.
A toast notification will appear confirming that the new customer has been created successfully.
You will be returned to the Customers screen, where the newly created customer will now appear in the tabular view.
How to Add Additional Customers
If you have already added customers before, you will see a + Add Customer button instead.
Step 4. Click + Add Customer. The Add New Customer form will open.
Step 5. Fill in the customer's name, email, and phone number.
Step 6. Click Create Customer.
The customer will be added to your customer list and will appear in the tabular view on the Customers screen.
Repeat this process to add all customers to whom you wish to send SMS or push notifications.
Viewing Your Customer List
Once customers are added, the Customers screen displays:
- A tabular view of all customers with their name, email, phone number, and status
- Total number of customers at the top of the screen
- Email verified status showing how many customers have verified their email addresses
Next Steps
Once you have added all your customers, you can organize them into marketing lists for targeted SMS and push notification campaigns by following the How to Create Marketing Lists in Kayana Partner Admin guide.
Before sending SMS or push notifications, you must also subscribe to an active plan by following the How to Subscribe to SMS and Push Notification Plans in Kayana Partner Admin guide.